Category Archives: Projects

Finished painting and ready to go

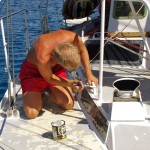
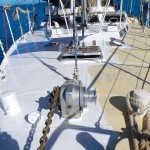
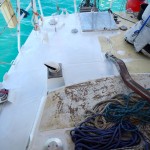
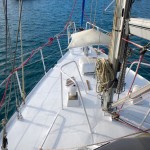
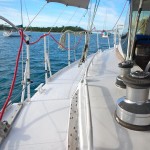
After our hardcore antifouling session I was unable to stop: I got rid of some rust spots and Harald welded some holes – not from rust, but from gear that was mounted on deck before. After that I put a few coats of primer but didn’t want to leave the job half finished. And as we’re waiting for the wind to pick up – I again started painting and during three days I could paint the whole deck. Now it’s nice, shiny and white. And on the inside the boat is a lot cooler.

Eine Schicht Farbe auf Steuerbord.Knifflig - immer einen Weg freilassen: sonst komme ich nicht mehr von Bord.Das Vordeck erstrahlt in Weiss ! Und kuehl ist es nun an Bord !Na sieht doch besser aus, als vorher, oder ?

Maybe later on I’ll add some anti-slip paint but for now that will have to wait. Actually we’ll see on the coming voyage if that’s necessary at all. Speaking of: Yes, we’re ready to go out to sea ! Tomorrow, on sunday we’ll start the trip to Vanuatu. The destination is Port Vila where we will try to arrange our visas for Australia. After that we hopefully meet the SV Kira on the island of Tanna to climb the volcano together.

So tomorrow we’ll be out on sea again and probably do some posts via SSB.

Posted in LosLocos, Pics, Projects, Sailing, Suvarov, Work | 2 Comments

Having fun in the anchorage

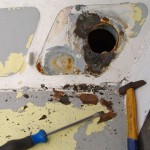
After our last sailing voyage we spent five days getting all the saltwater out of our boat and everything washed again. As we don’t like to repeat this experience, the newly found leaks were on the top of my ToDo list. And as the beach is too beautiful and the coral too colorful I look the other way grab screwdriver, hammer and chisel and start attacking the rust !
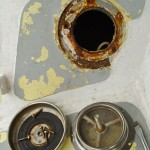
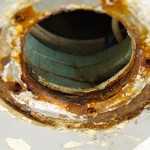
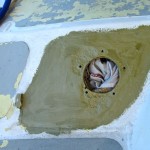
Der kleine Luefter ueber der Kueche - hier fing alles an...Eigentlich sollte es nur ein bisschen Sikaflex sein, doch ich finde Unmengen an RostNach einer halben Stunde Rost wegklopfen und -buerstenDie Luken sehen auch teilweise schlimm aus

My starting point is the little vent in the kitchen. Sometime ago there was also an electric ventilator installed but corrosion has eaten it away probably years ago. The Vetus vent itself, I replaced back in Moorea as the old one didn’t even close properly. But somehow water still found it’s way in – so I remove it completely and discover some realy nasty stuff: The leak probably existed for many years and not much is left of the 4mm of steel that our deck is made of. So I start the old game: first hammering the loose material away, then brush the metal until it looks somewhat stable. After cleaning it, I soak everything with phosphoric acid. Half an hour later the acid has done it’s magic and converted all the rust to black ferric phosphate. Now I clean again with freshwater and let it dry. The epoxy primer appears on stage and gives the ugly spot a nice, watertight cover. During the next days, I will paint additional layers of white polyurethan paint. Time will tell how that combination works out….
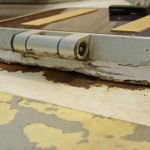
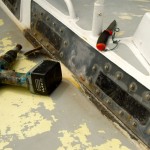
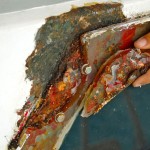
Das Badfenster leckte auch - hier die Ursache freigelegtUnd immer mehr Baustellen werden aufgemachtDie Luefter-Baustelle mit Epoxy Primer versehenDer fleissige Stahlschiffbesitzer - immer den Pinsel in der Hand

But as I’m already at it, I crawl around on deck and open more and more rust spots. Some are easy, others quite nasty. The always leaking bathroom window was missing a fitting underneath the handle and the window itself wasn’t glued to the deck with Sikaflex or 3M-50200 but instead sat on a 1cm layer of filler (the one that is used for fixing bumps in cars *rrr*).  In general I usually uncover two or three generations of household silicone which if at all is only to be used inside the ship. – Well it’s an amateur construction, one can tell.

Like this I work for five days on my knees with chisel and power drill in my hands.
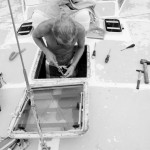
Die Vorschiffluke ist auch undicht und wird gleich mal komplett entferntDer Rahmen entrostet und mit Primer bepinseltUnd die Pinne wird auch neu abgedichtetDie Vorschiffluke neu eingebaut - nun oeffnet sie nach vorne !

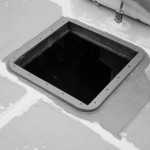
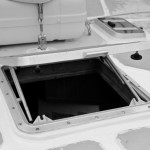
We discovered that the hatch on the foredeck also leaks water *underneath* the frame and onto our children’s beds. So I take the whole hatch off and again ramove three layers of silicone and cheap one-component paint. I polish the aluminium frame and after painting everything in the above mentioned manner, I glue it back in with Sikaflex. Also I turn the whole hatch a 180˚ so it now opens to the front. That will let a lot more air into the cabin and make our life more enjoyable in those hot regions we’re cruising in.

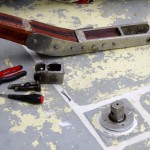
My last item on the todo list ist the tiller, which I dismount to put in nice, water resistant marine grease and again glue everything together again. Now all the leaks have been worked on -  if they really hold up against the waves only our next trip can tell…

Posted in Hardware, Learning for life, LosLocos, Pics, Projects, Sailing, Suvarov, Work | Comments Off

Amateur Radio Exam passed !

So in the end it was worth it – spending a whole week inside the ship and doing nothing than to learn for the exam.

Today in the morning I successfully passed the exam ! YAY !!! Now I’m going for a beer. If you’re in Berlin, give me a call on my mobile or look for me in the EKA at Helmholtzplatz. I’ll be there from ~21h.

Posted in Amateur Radio, Berlin, Projects | 5 Comments

Last todos

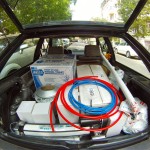
So – al final – the apartment is empty and cleaned. I’m sitting in my ex-garden while writing this blog post. Once again the car is completely full with things that we found during the last days. But today *is* the day, we’re moving out.

I would post some pics of the moving but that’s boring and we’ve got more important things to do at the moment. – See the next posting…
Posted in Berlin, LosLocos, Projects | Comments Off

New batteries and water faucets

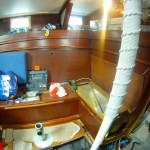
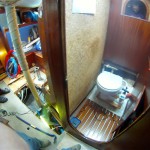
Today we put the new waterhoses for drinking water, fresh water and salt water underneath the saloon floor. We also installed new water faucets in the galley and connected the new head to the saltwater inlet. There are a few pieces missing but the water installation is 90% complete (not counting the watermaker, that’s another project saved for later).

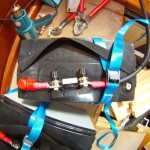
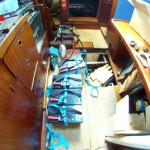
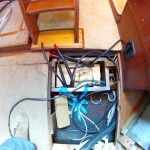
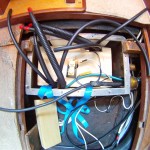
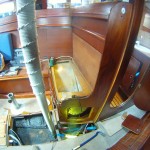
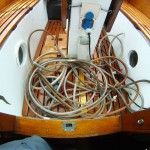
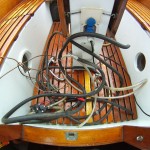
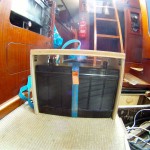
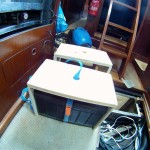
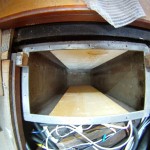
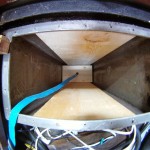
The first picture shows the top of the batteries with the 300A fuse right on top of it. That’s to get sure nothing bad happens, should the wires somehow break and shortcut. – In the end, all the batteries are in one big metal box. As you can see in the last two pics. – Actually you can’t because all the lead is inside the tank and covered with my wooden ‘boxes’ that hold the batteries in place. Now the only todo left is to connect everything together…

Tomorrow I’ll be in the office to get my tax files in order and sort out other boring paper stuff….

Posted in Pics, Projects, Rancho Relaxo, Work | Comments Off

Getting rid of the water tank

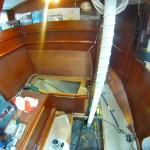
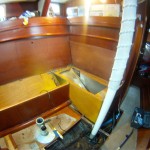
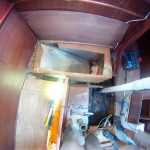
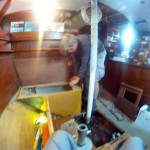
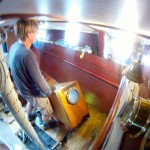
As I said, yesterday Wolfgang and me were removing the water tank. To cut it short: We succeeded !! Here is the water tank that was hidden under the saloon bench. We cut it open to see where it is bolted to the ship. The pictures were taken after about 2-3 hours of work:

We also had to cut the inlets and remove the rest of the saloon bench to get access to all sections where the tank was fixed to the hull. After about 7 hours of work the tank was removed. Yay !!

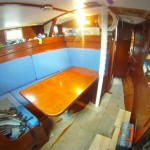
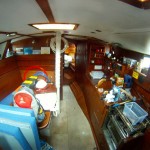
…and one hour later, the saloon looked like this:

Posted in Pics, Projects, Rancho Relaxo, Work | Comments Off

Hoses poposes

This week I have help from Wolfgang and the two of us have managed to strip all water hoses from the Rancho Relaxo:

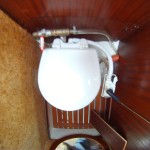
And in the morning while I was with the tax accountant, Wolfgang managed to remove the old potty and replace it with the new Jabsco. He also removed the faucet in the bathroom and put the new Whale pump-faucet in the galley. This one will pump the drinking water from the little holding tank. The big old galley-faucet was also removed but as I forgot to order the replacement, I’ll have to go shopping tomorrow. – But we’ll need 30m of new water hoses anyway. In the meantime we’ve managed to once again make a big mess on board – but there’s no other way. Tomorrow when we’ll try to remove the smaller of the two water tanks the chaos will be even bigger ! (Yeah, and I’ll post pictures – be sure of that. ;-)

Posted in Pics, Projects, Rancho Relaxo, Work | 2 Comments

First results

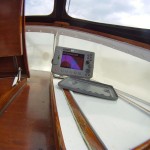
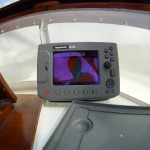
The second week is gone…. A short week thanks to the visit in Austria and that stupid crash. But still I managed to finish a few things. The old chart plotter was ‘exchanged’ for a Raymarin via Ebay and last week I already did all the cabeling (what a mess !). Now it’s mounted and running. Looks actually quite good there – under the sprayhood. Now the only thing missing is the connection to the radar. But that is still waiting for the cable. Also missing is the Tridata which will be a  VDO (veeeery nice !). The sensors are already in place and so are all the cables. When everything is working, it will be interconnected via the AMAZING NMEA/Seatalk/RS232 converter which will deliver all data also to my board PC. – I’ll post pics as soon as that’s finished.

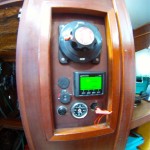
What else… Well the cabeling in the engine room is pretty much finished. The only things missing are the alternator and the charger for the wind generator which both will happen next week. In the meantime I activated the battery and tank display. The big red key is for the 2kW inverter – so it doesn’t empty our batteries when it’s idling…

Speaking of batteries: The old Diesel-tank is now storing energy in the form of batteries. Hehehe. Yeah. THAT’s a statement ! Four pieces of 100Ah AGM-batteries will end up in the tank. Which is perfect for the weight (deep down) and the tank ensures that the batteries are in a watertight box. – How convenient !

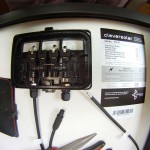
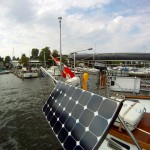
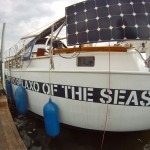
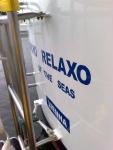
Also new: the two 100W – solar panels are active. I’m very happy with the way they are mounted but I’m nervous about the first locks. Hopefully I will not ruin them… Ah, and as you can see, Gui put the ship’s name on the sides. I think it looks quite good !

Also I brought a car load of new stuff to the ship. Next week the main focus will be on the water installation. I’ll replace all faucets and the electric pump will be replaced by a foot pump. The smaller of the two water tanks has to make room for the watermaker. But I don’t think, I’ll install it next week. This is probably something for underway.

Posted in Pics, Projects, Rancho Relaxo, Work | Comments Off

Construction works…

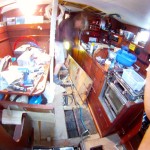
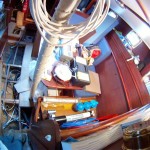
My second day after work means my second day doing renovations on the Rancho Relaxo. The whole ship is a huuuuuuge mess !!

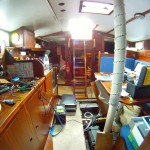
But in the end it’s going somewhere. With professional help the engine room was completely re-wired and is starting to look really good ! I was cutting and pulling out old cables and so I managed to remove about 20kg of unused copper all over the ship. Today I started re-wiring the navigational gear and radios, tomorrow I’ll try to connect the new chart plotter and get it to talk to the radome antenna. If there’s enough time, I’ll also start wiring the shortwave-equipment. I’ll keep you posted.

Posted in Pics, Projects, Rancho Relaxo | 1 Comment

Some minor updates to our website

As the time draws near that we are without our DSL-connection, I’m starting to rearrange and update our website:

We’ve added a new page: FAQs – where you’ll find all those questions everyone keeps asking us…

We’ve eliminated the ‘books’ page. There’s not enough room in the menu bar and I’m doing book reviews in normal blog posts from now on. And that’s where you’ll find them: Just select the category ‘books’ in the menue to the right. Or click here.

Update 20110413:
And finally I’ve managed to translate the description of our ship, the Rancho Relaxo of the Seas. Also the Pictures section was cleaned up (but still requires registration for access).

Posted in Links, Projects | Comments Off

We build an arcade joystick (pt. 1)

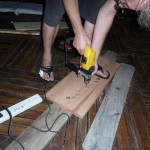
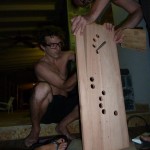
One of the little side projects Andy and me did when in Argentina was to build an arcade-style joystick as a christmas present for Gioco.

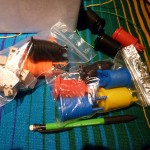
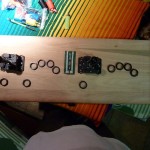
All the necessary ‘high tec’ parts I brought with me from Berlin (I bought them at the arcade shop). Those included: buttons, controller and the joysticks themselves. The idea was to build a wooden case, paint it and put the parts. The interesting thing about this was that there were no tools available except for a drilling machine. So we went to the diy-shop and got a saw, some screws and three pieces of wood.

All the wood parts were cut by hand, the wires for cabling came from old computer power supplies. That’s a really interesting way to do this thing. I didn’t have a chance to finish it but Andy should be painting the case this weekend and then it’ll be done. I’m gonna put pictures, I promise.

Posted in Argentina, Hardware, Mame, Pics, Projects | Comments Off

Coquito im Himbeer Magazin !

In der aktuellen Printausgabe des Himbeer-Magazin ist ein Artikel ueber Coquito zu finden – aber damit nicht genug ! Ploetzlich findet sich auf der Startseite des Magazins eine sehr nette Vorstellung des Modelabels und eine Ankuendung fuer den Sonderverkauf bei uns in der Wohnung, diesen Freitag und Samstag !

Und wer haette das gedacht – noch am selben Abend gibt’s die erste Anfrage eines Ladens, der gerne Coquito Sachen verkaufen moechte. Yay-woo !!

Hier der Artikel, so wie er heute im Web zu sehen war:

Himbeer Magazin - ueber Coquito

Posted in Coquito, News, Pics, Projects, Work | Comments Off

Renovierungsarbeiten am Schiff

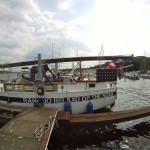
Der Fruehling beginnt und wir fangen an, das Schiff auf Vordermann zu bringen. Das Funkgeraet wird gegen ein modernes ausgewechselt, das Badezimmer wird saniert, die Heck-Koje neu tapeziert, der Kuehlschrank desinifiziert und wieder in Betrieb genommen. Und natuerlich wird der neue Schiffsname am Heck angebracht mit anschliessender Schiffs-Taufe bei miesem Ostsee-Wetter. Die Kinder geniessen die Tage auf dem Schiff – und das, obwohl wir wegen der vielen Arbeit kaum Zeit fuer sie haben.

Ausserdem noch zu sehen: Bruno und Viola am Spielplatz in der Choriner, Konzertfotos von Trans Am in Berlin, Abreise nach Miami.


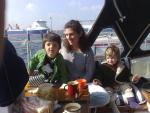
Rancho Relaxo - Heck     Bruno - Papi    Fruehstueck im Cockpit

Posted in Berlin, LosLocos, Pics, Projects, Rancho Relaxo, Sailing, Travel | Comments Off

Fuer Gui endet ein Lebensabschnitt

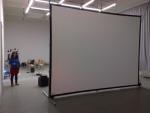
Nach 12 Jahren Studium in Paris und in Berlin, mit Abschluss in Philosophie, einem Intermezzo mit Deutsch-Franzoesichen Beziehungen und Fotografie sowie einem Abschluss in ‘Experimenteller Mediengestaltung’ an der UdK geht nun eine Uni-Karriere vorerst zu Ende. Anbei ein paar Fotos von der Abschluss-Pruefung an der UdK im Februar 2010. Gezeigt wurden drei Video-Installationen, ein Buch, eine Fotoausstellung, eine interaktive Installation und eine doppel-Projektion mit zwei synchronisierten 8mm-Projektoren. Super Sache ! – Und mit Auszeichnung abgeschlossen ! :-D


 Interaktive Installation    Praesentation

Posted in Berlin, Pics, Projects, Work | Comments Off

Und noch mehr Fotos. (Da hat sich doch was angesammelt….)

Also zuerst mal ein paar unkategorisierte Fotos zusammen mit den Bildern der Schiffs-Besichtigung im Herbst 2009 – mehr zum Schiff gibt’s dann in einem weiteren Posting…

Feltz Skorpion IIa    Im Cockpit

Und eine Weitere Fotosammlung – Anfang Winter 2009/2010: Umzug in die neue Wohnung, erste Planungen einer grooooooossen Reise, ein kleiner Auto-Crash und (viel) Schnee in Berlin.


Umzug in die neue Wohnung   Planung einer groooooooossen Reise    Crash !    Vieeeel Schnee in Berlin

Posted in Berlin, LosLocos, Pics, Projects, Sailing | Comments Off

Ach ja. Fotos. Mas fotitos ! Viiiiiiele Fotos…

Und gleich noch ein paar weitere raufgeladen:

Neues vom Hausbau und Zuhause, in der Rancho-Relaxo (Prinzessin Viola lernt sitzen)

Dann folgen noch… Bilder von der Biennale in Sevilla und Grenada sowie ein paar weitere Fotos von Elektronikbasteleien. – Die bringen dann spaeter auch Licht in die Sache mit dem kaputten ‘Voltage regulator’ (s.u.).

Posted in Apple, Found, LosLocos, Pics, Projects, Work | Comments Off

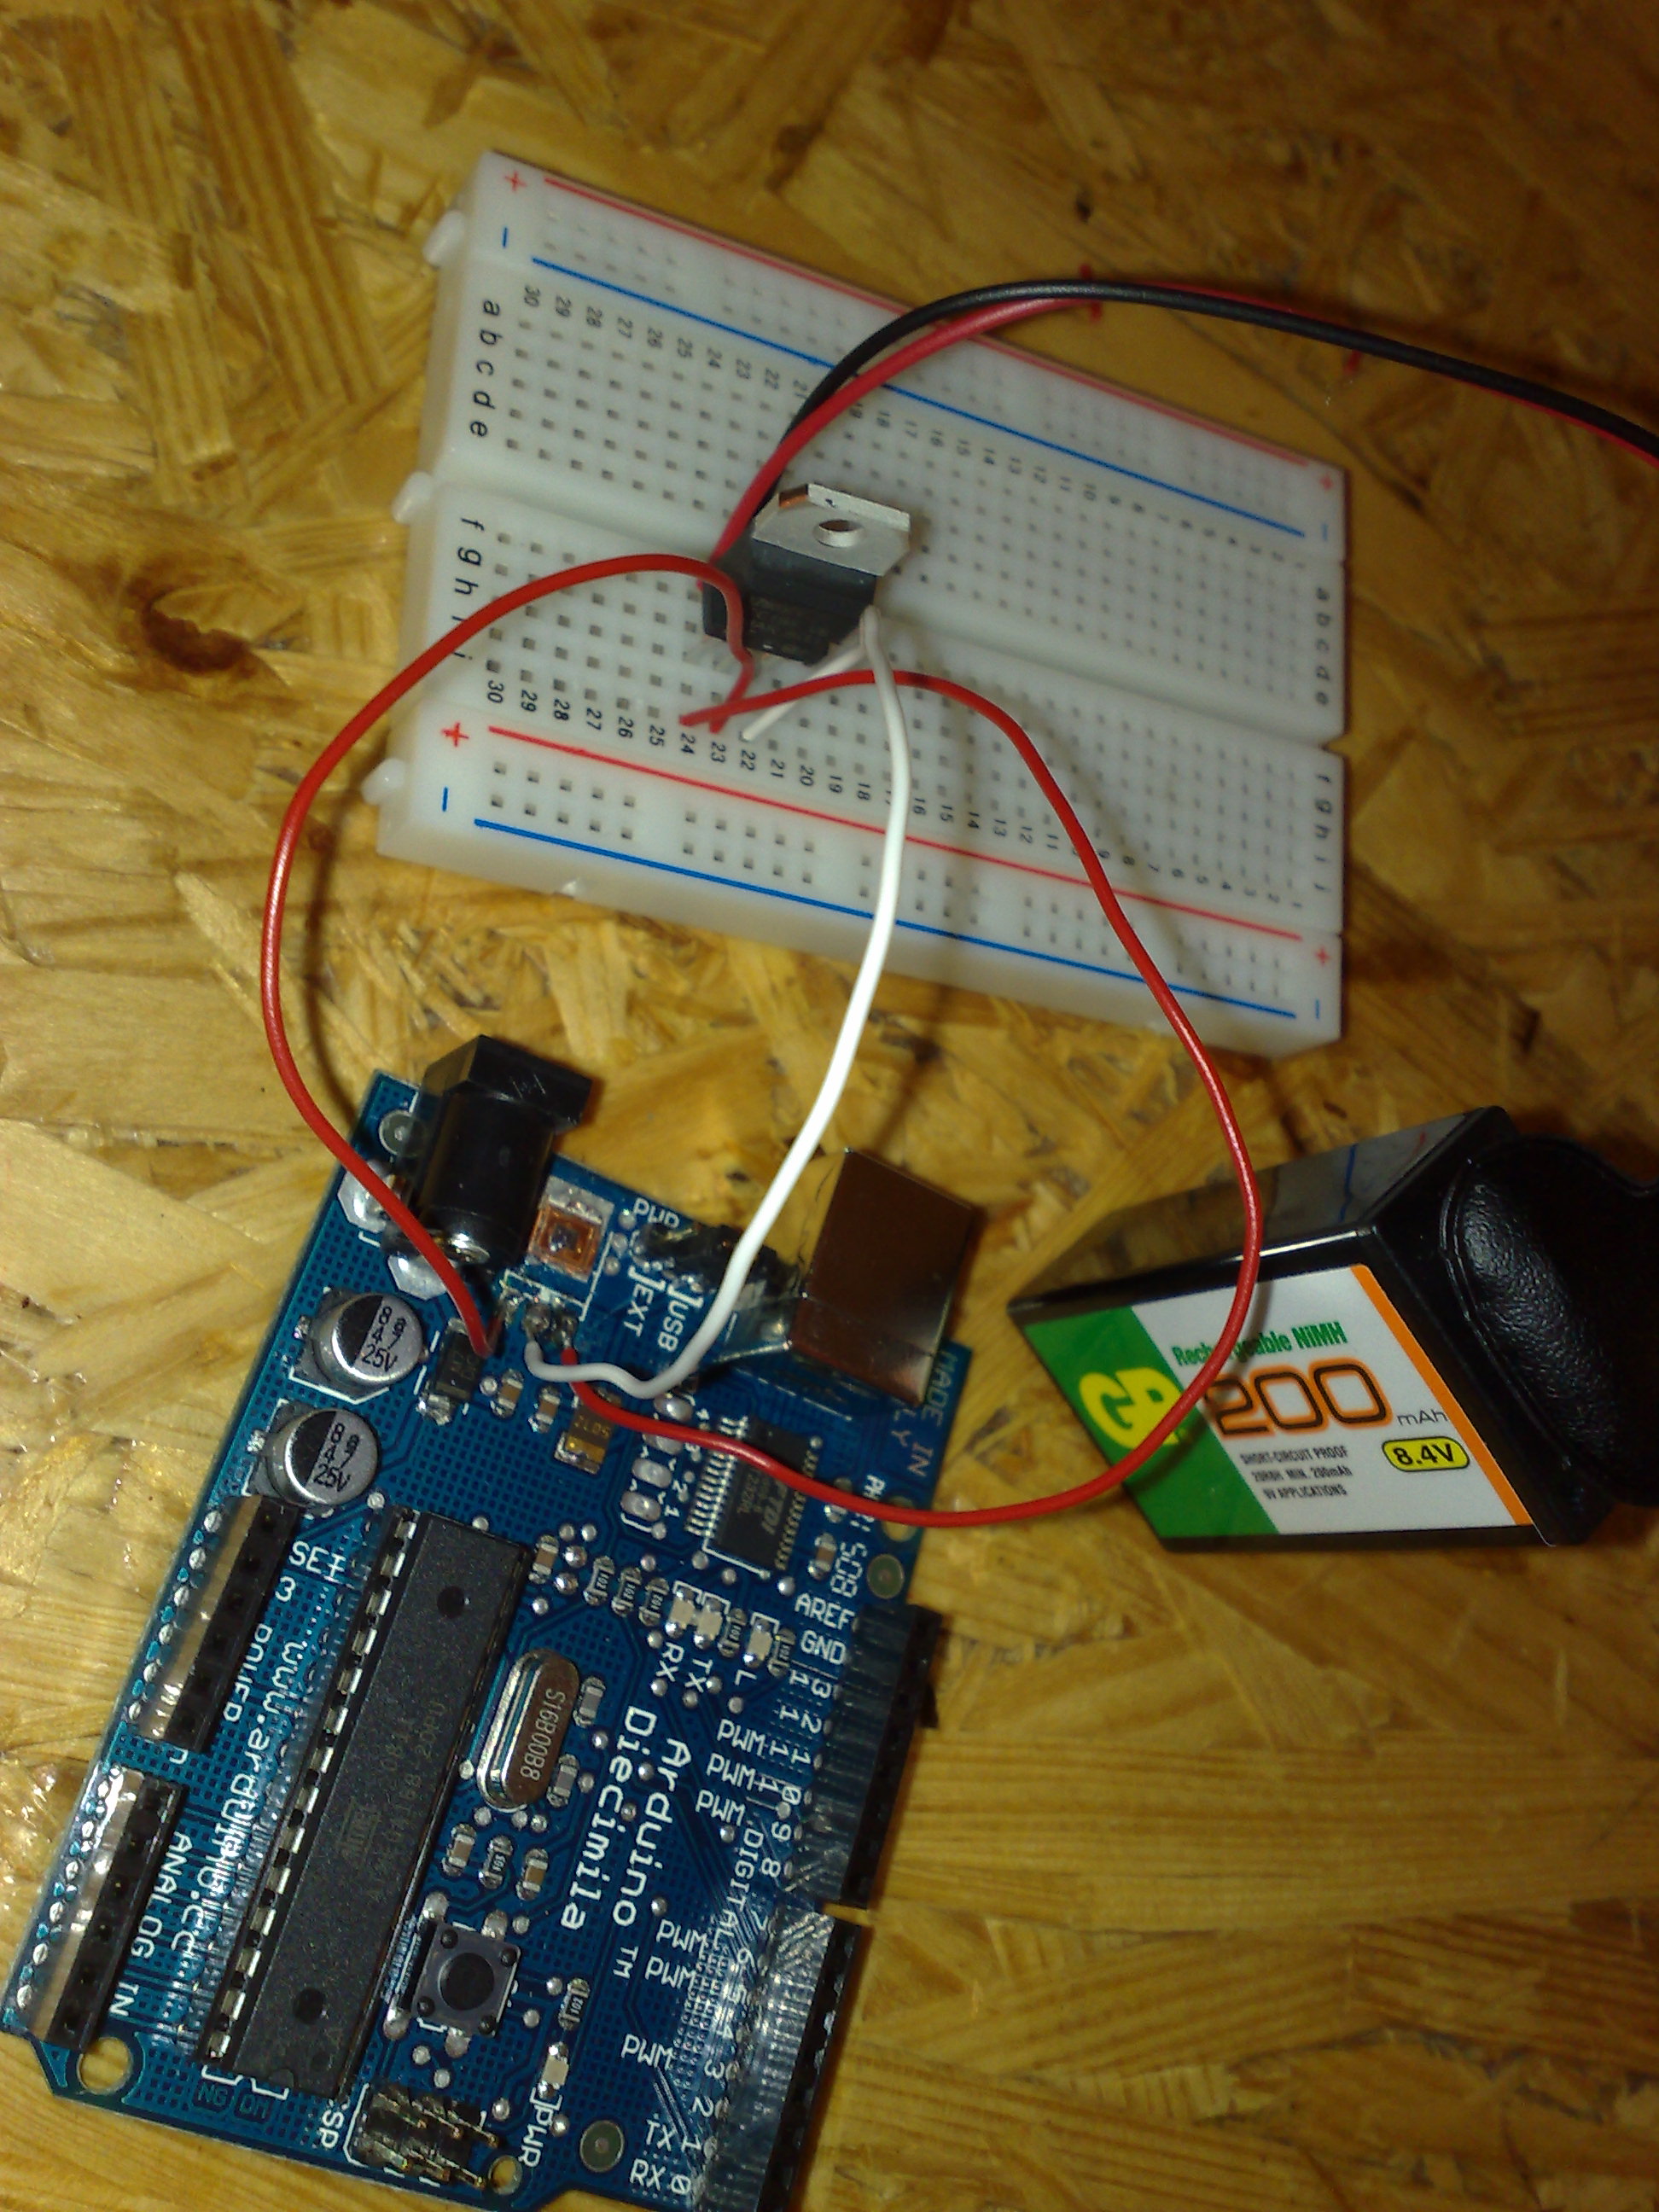
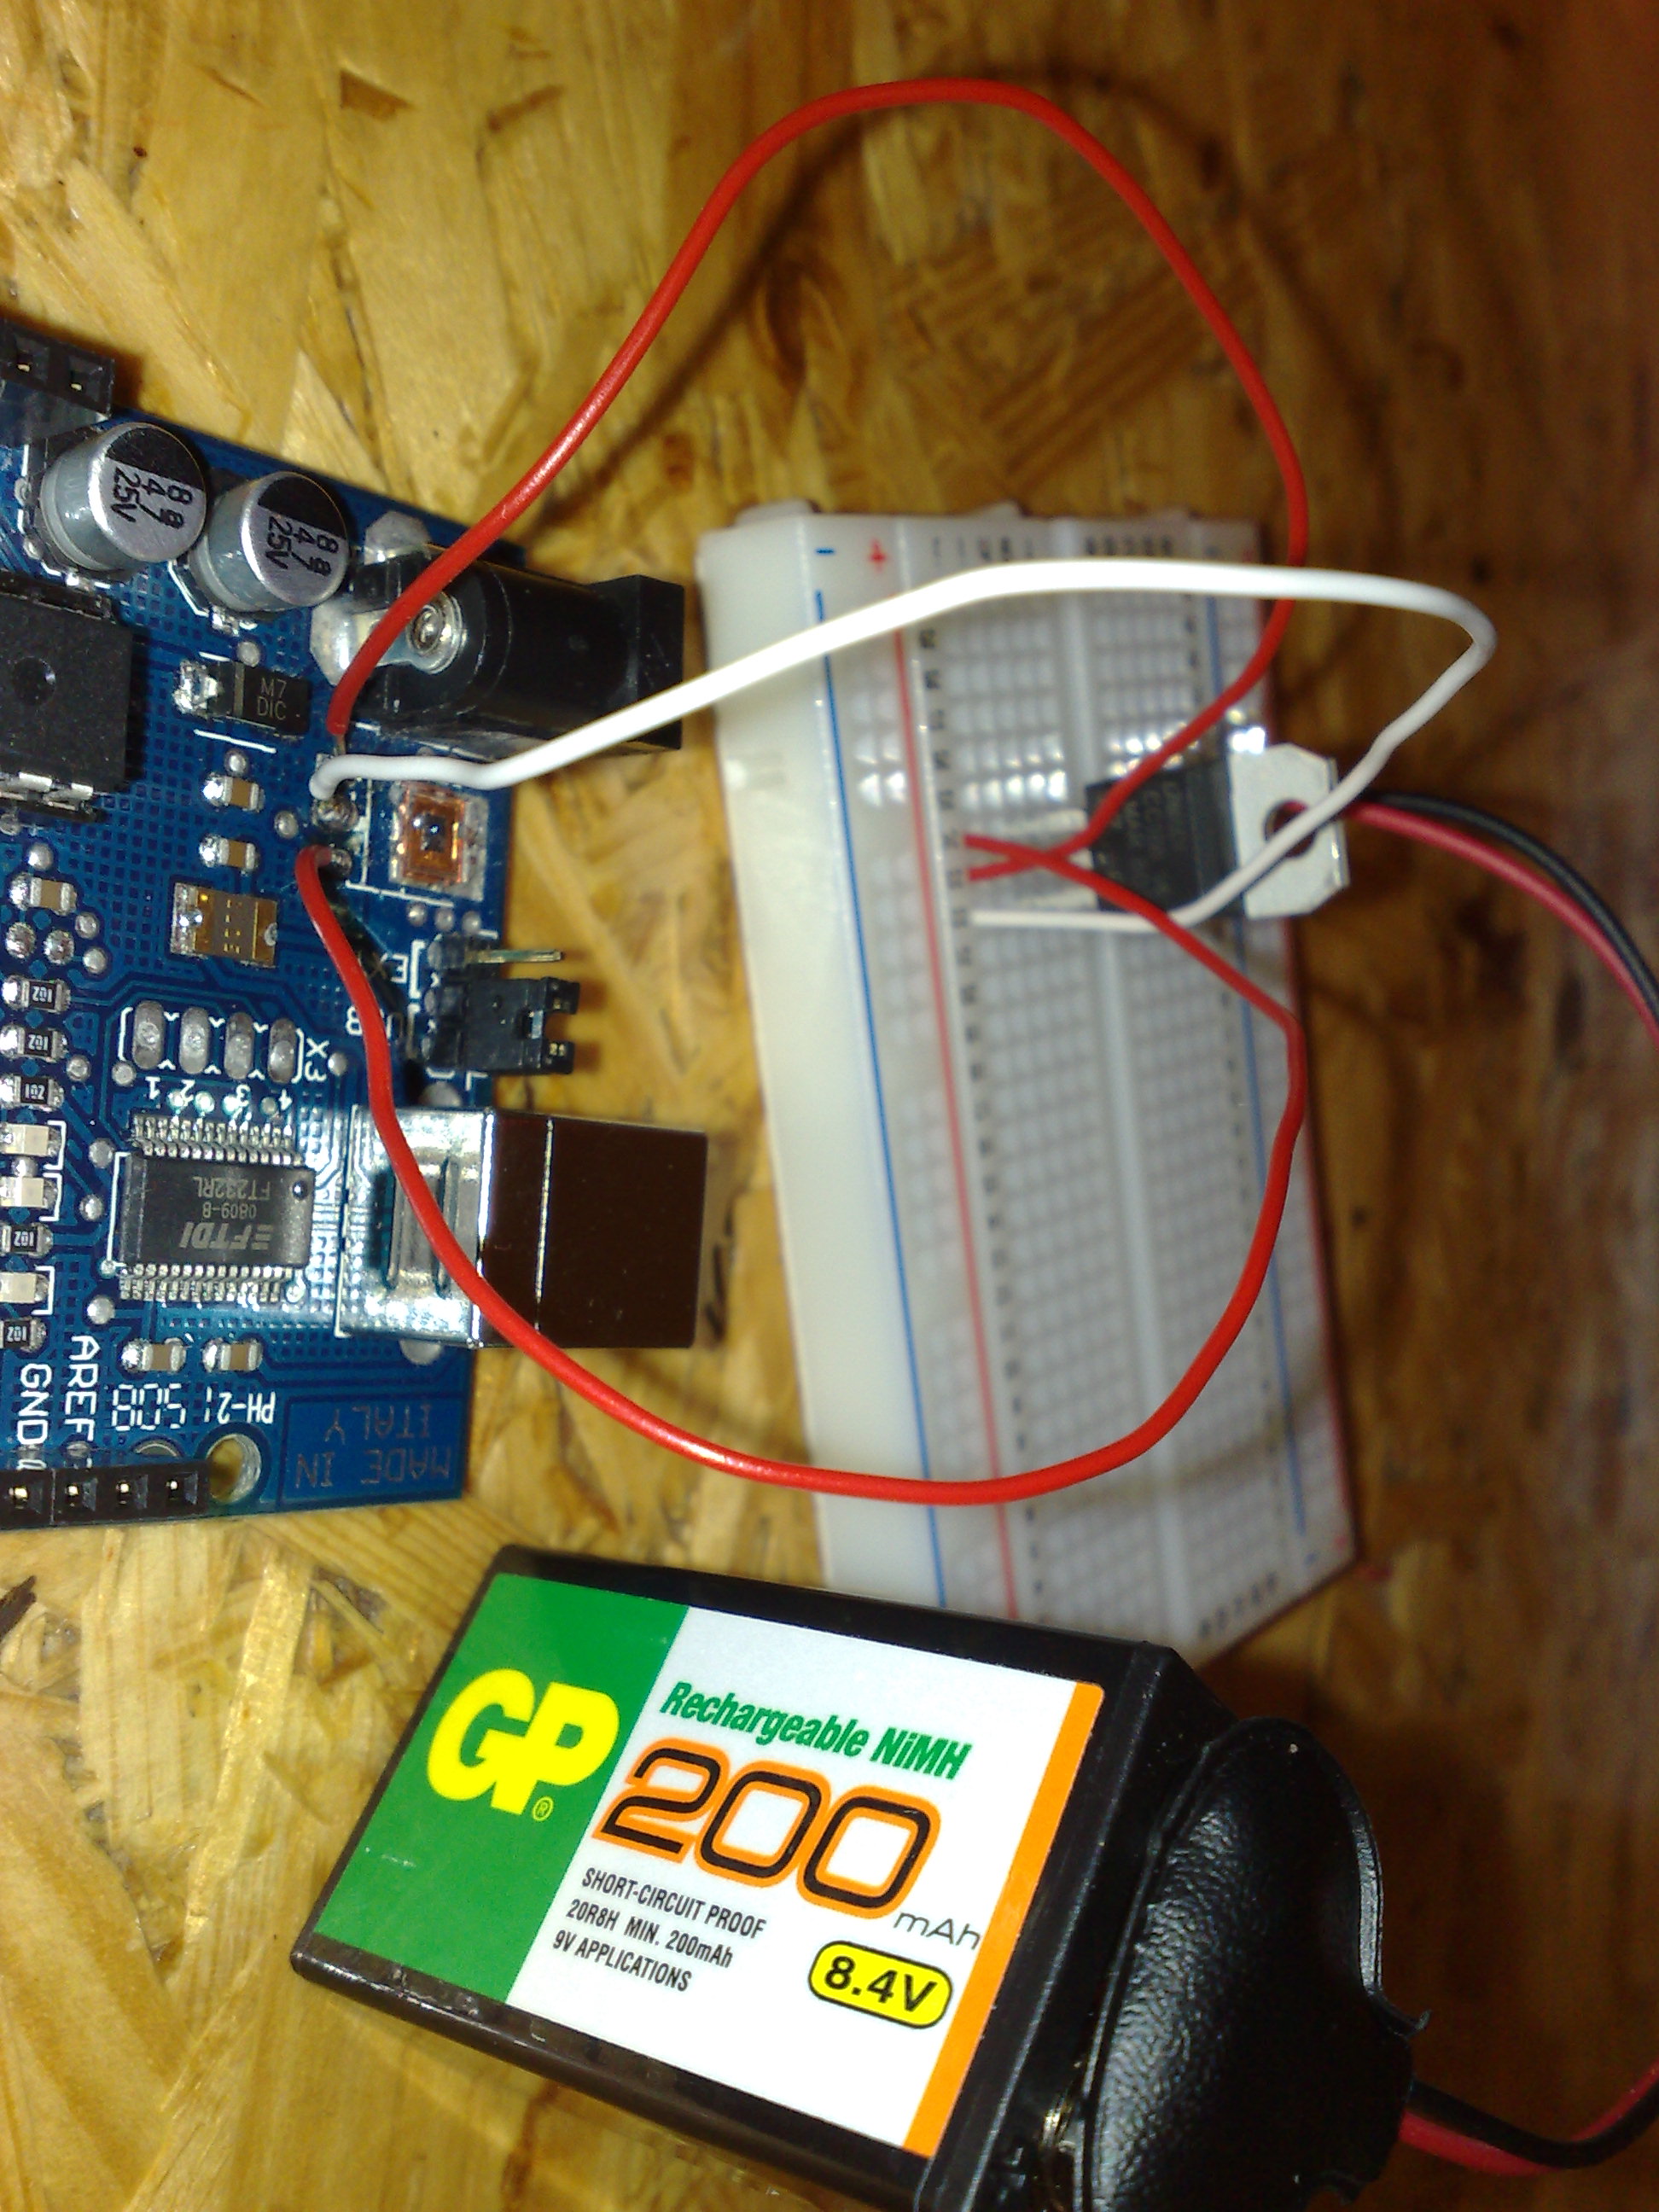
Arduino with broken voltage regulator

Just to post the two pics for reference…

Arduino with broken voltage regulator 1   Arduino with broken voltage regulator 1

Arduino with broken voltage regulator 2   Arduino with broken voltage regulator 2

Posted in Arduino, Hardware, Pics, Projects, Work | Comments Off